User Guide#
This guide walks you through the full ModuleTester workflow: setting up a project, discovering tests, running them, and exporting reports.
Setting up your project#
ModuleTester discovers tests inside a Python package by looking for the
# guitest: show annotation at the top of each test script.
Make sure your package is importable (installed or on
PYTHONPATH).Add the annotation comment to every test file you want ModuleTester to manage:
# guitest: show

def test_example():
    assert 1 + 1 == 2
Scripts without this annotation are ignored by default (see the
categoryoption in Configuration Reference).(Optional) Create a
moduletester.inifile at the root of your package to customise export templates, GUI layout, and other options. See Configuration Reference for the full reference.
Test discovery#
When you open a package in ModuleTester, it uses
guidata.guitest.get_test_package() to scan the package tree and collect
every script annotated with # guitest: show (or # guitest: skip to
explicitly exclude a script).
The discovered tests are displayed in a tree view that mirrors the package structure. Each node shows the test name, its last execution status, and the date of the last run.
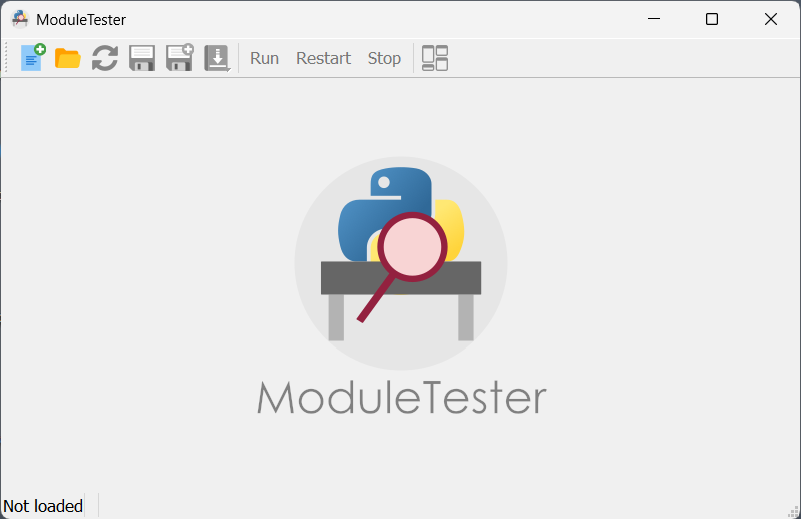
ModuleTester main window with dockable panels and tree view navigation#
Running tests#
From the GUI
Launch ModuleTester on your package:
$ moduletester -p mypackage
Select one or more tests in the tree view.
Click the Run button in the toolbar (or double-click a test).
While a test is running, a spinner appears next to it in the tree view. The Output and Error tabs in the Execution Results panel update in real time. A notification icon appears when new output is available.
When the test finishes, its status icon updates (accepted, failed, etc.).
From the command line
You can also run tests headlessly. See Command-Line Reference for details.
Viewing results#
After execution, select a test in the tree view to inspect its results in the dockable panels:
Test Properties — shows the test module path, command, and parameters.
Execution Results — contains three tabs:
Comment — free-text field to annotate the result.
Output Message — standard output captured during execution.
Error Message — standard error captured during execution.
CLI — displays the exact command line used to run the test.
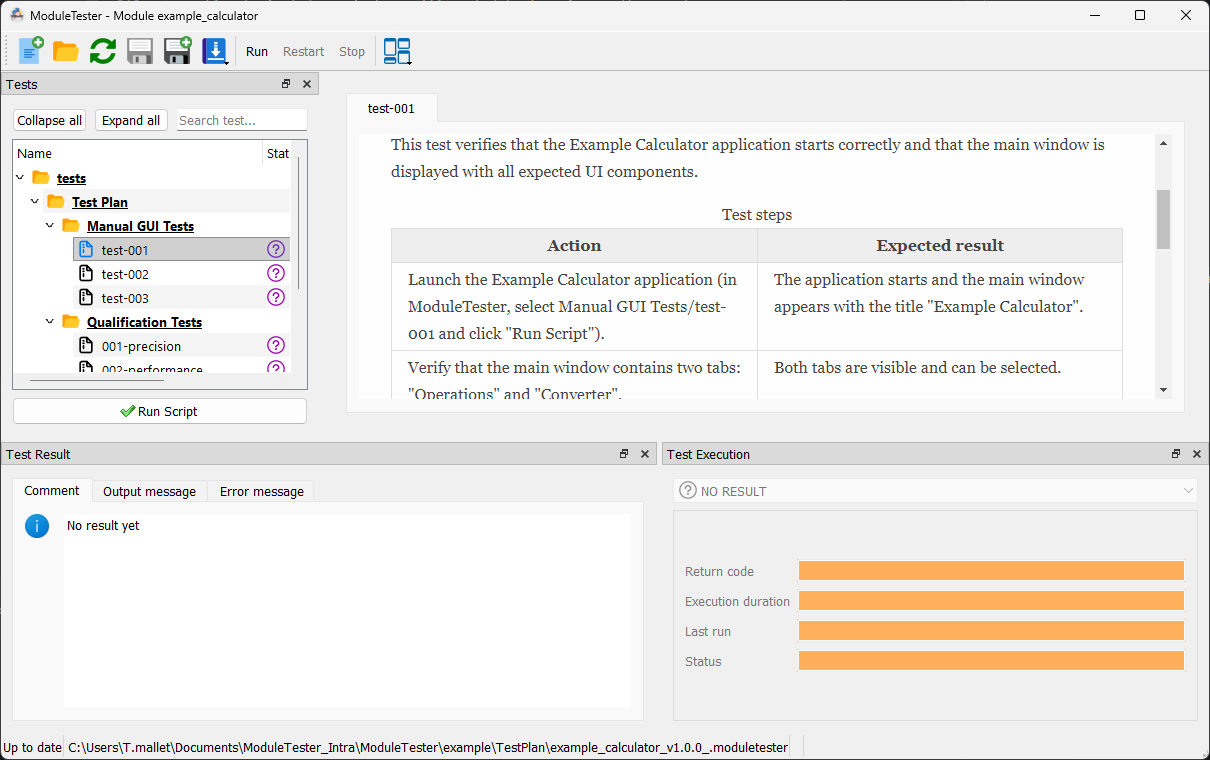
Running tests on the example package available in the moduletester source code
— tree view with status icons, test properties, and execution results panels#

Running tests on the guidata package — tree view with status icons,
test properties, and execution results panels#
Working with project files#
ModuleTester can save and load project files (.moduletester format) that persist the test list, results, and comments.
Save: File → Save (or Save As for a new file).
Open: File → Open and select an existing
.moduletesterfile.Reload: File → Reload to refresh the test list from the package without losing saved results.
You can also open a project file directly from the command line:
$ moduletester -f /path/to/project.moduletester
Exporting reports#
ModuleTester can export test results to several document formats through its Jinja2-based export engine.
Supported formats: HTML, DOCX, ODT, PDF, Markdown, reStructuredText.
From the GUI
Use File → Export to generate a report. The export dialog lets you choose the output format and destination.
From the command line
$ moduletester-cli export mypackage --output report.html
See Template Customisation to learn how to customise the report appearance using your own Jinja2 templates and CSS styles.